How to Use a Geomembrane for Pond Liners: A Step-by-Step Installation Guide
Installing a pond on your property can radically change your landscape, presenting a serene water feature, a habitat for wildlife, or a practical reservoir. The key to a successful, long-lasting, and leak-free pond is a suitable set up of a geomembrane liner. This complete information will stroll you via the complete process, from planning to filling, making sure your challenge is a success.
What is a Geomembrane and Why Use One for Your Pond?
A geomembrane is an impermeable artificial membrane liner or barrier used to manage fluid migration in a project. For pond applications, the most frequent and fantastically endorsed kind is the HDPE pond liner. HDPE lining for ponds is prized for its outstanding durability, excessive chemical resistance, and lengthy carrier life, frequentlyexceeding 20 years. Using an impermeable geomembrane liner is fundamental due to the fact it prevents water from seeping into the soil, preserving your water degree and defending the surrounding floor from turning intooversaturated. This makes it an critical answer for the whole lot from ornamental koi ponds to giant agricultural retention basins.
Pre-Installation Planning and Site Preparation
Before you even order your liner, thorough planning and web site guidance are the most integral steps. Rushing this section will lead to issues down the line.
1. Design and Measurement:
First, finalize the sketch of your pond. Determine the length, width, and most depth. To calculate the dimension of the impermeable geomembrane liner you need, use this formula:
Liner Length = (pond length) + (2 x pond depth) + (2 ft for anchorage)
Liner Width = (pond width) + (2 x pond depth) + (2 ft for anchorage)
Always add a margin of error. It is some distance higher to have too a lot cloth than no longer enough. Reputable HDPE pond liner suppliers can regularly grant sizing calculators and technical assist to assist you get the rightdimensions.
2. Gathering Tools and Materials:
You will want your geomembrane liner, a shielding underlayment (non-woven geotextile fabric), sand (for a clean sub-base), anchoring stakes, seam tape (for positive liners), and a roller. Ensure you have fabulous private defensive gearlike gloves and security glasses.
3. Excavation and Subgrade Preparation:
This is the most labor-intensive part. Excavate the pond region to your favored structure and depth.
Remove all sharp objects: rocks, roots, sticks, and any different particles that may want to puncture the liner.
Create stable, sloped sides. A slope of 3:1 (horizontal:vertical) is typically encouraged to forestall soil slippage.
Tamp the soil down firmly to create a compact and secure subgrade.
Create a degree shelf round the whole perimeter of the pond for the anchorage trench.
The Critical Step: Installing a Protective Underlayment
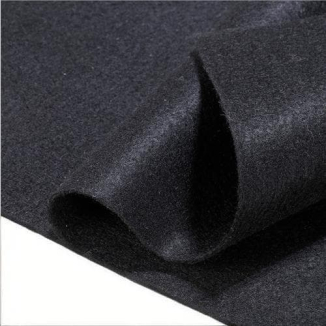
Never region your HDPE lining for ponds at once on the compacted soil. Even the most well-prepared subgrade can shift or enhance sharp factors over time. A layer of non-woven geotextile cloth underlayment is essential. This cushioning layer protects the fundamental liner from punctures and abrasions, notably extending its life. Roll out the underlayment throughout the complete excavated area, which includes the sides. Overlap any seams by means of at least a foot and invulnerable it in place. This barrier is your liner's first line of defense.
Step-by-Step Guide to Liner Installation
With the web page completely prepared, you are equipped to set up the foremost event: the impermeable geomembrane liner.
1. Unrolling and Positioning the Liner:
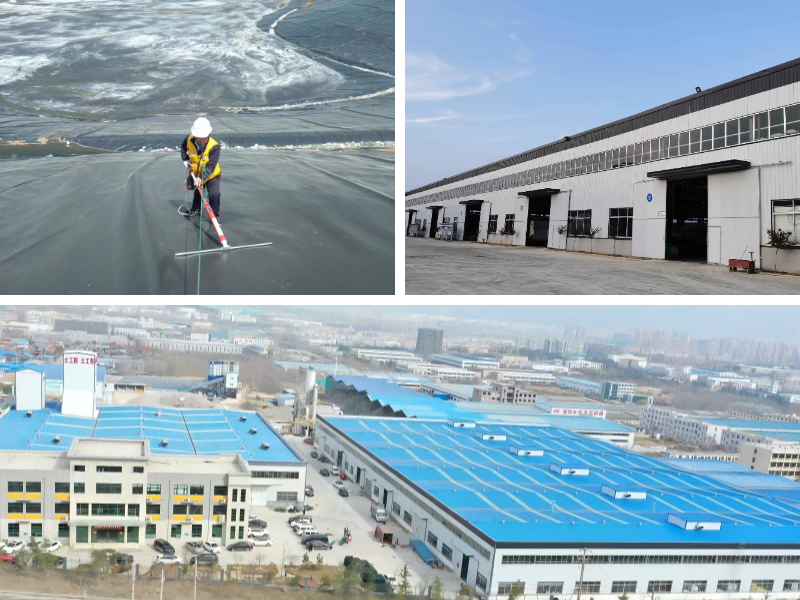
Choose a warm, sunny, and calm day for installation. A hotter liner is extra bendy and less difficult to work with. Carefully unroll the geomembrane over the core of the organized pond area. Ideally, enlist helpers to maneuver the liner except dragging it throughout the ground. Allow the liner to sag and conform to the contours of the gapnaturally.
2. Conforming the Liner to the Pond:
Gently stroll on the liner (wearing soft-soled shoes) to press it into the corners and alongside the slopes. Work from the middle outward in the direction of the edges to push out air pockets and easy out wrinkles. The purpose is to have the liner make full contact with the underlayment below it. Some wrinkles are inevitable and will disappear as soon as the pond is stuffed with water.
3. Seaming Panels (If Necessary):
For large ponds, you may additionally want to seam a couple of panels of liner together. This is a especially technical process. For HDPE liners, the favored technique is thermal fusion welding, which requires specialised gear and expertise. For a DIY project, it is pretty recommended to order a single sheet from your HDPE pond liner suppliers to keep away from the want for seaming. If you need to seam, use a manufacturer-approved technique and checkthe seam for integrity.
4. Securing the Liner in the Anchorage Trench:
Once the liner is excellent positioned, it is time to impenetrable the edges. Fold the extra liner fabric into the stageshelf trench you created earlier. Create neat folds alternatively than random bunches. Fill the trench with massiverocks, gravel, or soil to anchor the liner securely in place. This trench hides the edges and prevents them from slipping into the pond.
Final Steps: Filling and Finishing
1. Filling the Pond:
Begin filling the pond slowly with water. As the water stage rises, proceed to regulate the liner, releasing anxiety and smoothing out final wrinkles. The weight of the water will assist press the liner firmly in opposition to the subgrade and underlayment.
2. Trimming Excess Liner:
Only after the pond is totally full need to you trim any closing extra liner from the anchorage trench, leaving ample to make certain it stays securely anchored. Be cautious now not to reduce it too short.
3. Adding the Finishing Touches:
Once the liner is secured and trimmed, you can add your aesthetic elements. Place stones, gravel, or pre-cast edging round the perimeter to conceal the anchorage trench and create a herbal transition from the pond to the landscape.
Post-Installation Care and Maintenance
Your geomembrane pond liner is designed to be low-maintenance. Regularly do away with particles like leaves to forestall the formation of detrimental gases. In less warm climates, reflect onconsideration on the use of a pond aerator or heater to stop a entire freeze-over, which can put stress on the liner. Periodically check out the edges and seen areas for any symptoms of harm or shifting.
Conclusion: Enjoy Your Leak-Free Pond
A profitable pond set up hinges on meticulous preparation, cautious dealing with of materials, and affected personexecution. By deciding on a incredible impermeable geomembrane liner from legit HDPE pond liner suppliers and following this step-by-step information for your HDPE lining for ponds
Contact Us
Company Name: Shandong Chuangwei New Materials Co., LTD
Contact Person :Jaden Sylvan
Contact Number :+86 19305485668
WhatsApp:+86 19305485668
Enterprise Email: cggeosynthetics@gmail.com
Enterprise Address: Entrepreneurship Park, Dayue District, Tai 'an City,
Shandong Province


