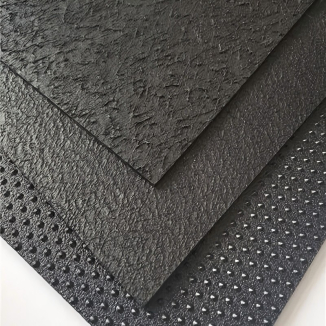
Complete Step-by-Step Installation Guide for Geotextile Cloth on Slopes
Introduction
Slope erosion and soil slipping bring hidden risks to civil, landscape and hydraulic projects. Proper deployment of Geotextile Cloth delivers reliable filtration, separation and stabilization for slope surfaces. Many field failures happen not from poor material quality, but from wrong installation routines. This step‑by‑step guide walks you through the full workflow to set up Fabric Geotextile on slopes correctly. You will also learn practical tips for working with Non Woven Geotextile, which is widely preferred for most slope erosion‑control scenarios. Following these procedures maximise service performance and avoid common onsite mistakes.
1. Pre‑Installation Preparation for Slope and Materials
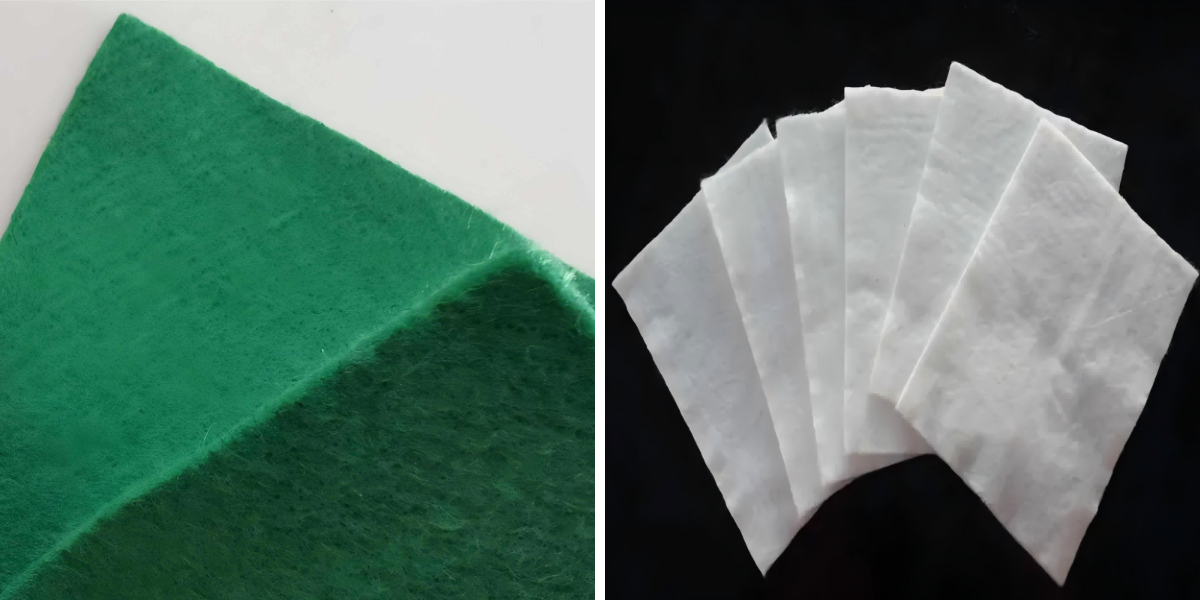
Before handling any Geotextile Cloth, complete site inspection and surface preparation. Clear the slope face of sharp stones, broken branches, protruding roots and loose clumps that may puncture Fabric Geotextile during or after placement. Smooth uneven bumps and fill deep depressions to create a consistent base. Standing water pools should be drained ahead of time, as trapped moisture will affect how Non Woven Geotextile fits against ground contours.
Check delivered rolls for tearing, hole damage or long‑term UV exposure marks before opening packaging. Keep rolls shaded until use; direct sunlight can degrade geotextile material if left uncovered for extended periods. Prepare supporting accessories including anchor stakes, staples and backfill soil for anchor trenches. Confirm roll width matches your slope layout, and reserve extra material allowance for top‑toe anchoring and seam overlap sections. Never start installation on an unstable slope surface that still has loose sliding soil layers.
2. Excavate Anchor Trenches at Slope Crest and Toe
Solid anchoring decides whether Geotextile Cloth stays fixed under rain wash and gravity pull. Dig anchor trenches along the slope top crest and slope toe at the bottom end. The trench should run parallel to the slope edge, free of sharp fragments inside.
Unfold the top margin of Fabric Geotextile into the crest trench. Lay material flat along the trench base and inner wall, then backfill with clean soil and compact gently. This buries the upper edge so pulling force transfers into stable ground instead of tearing the geotextile body. Repeat similar anchoring treatment at slope toe, where the bottom section of Non Woven Geotextile gets locked inside the toe trench. Without proper trench anchoring, the whole sheet may slide down along the slope surface under long‑term runoff impact.
3. Unroll and Position Geotextile Material on Slope Surface
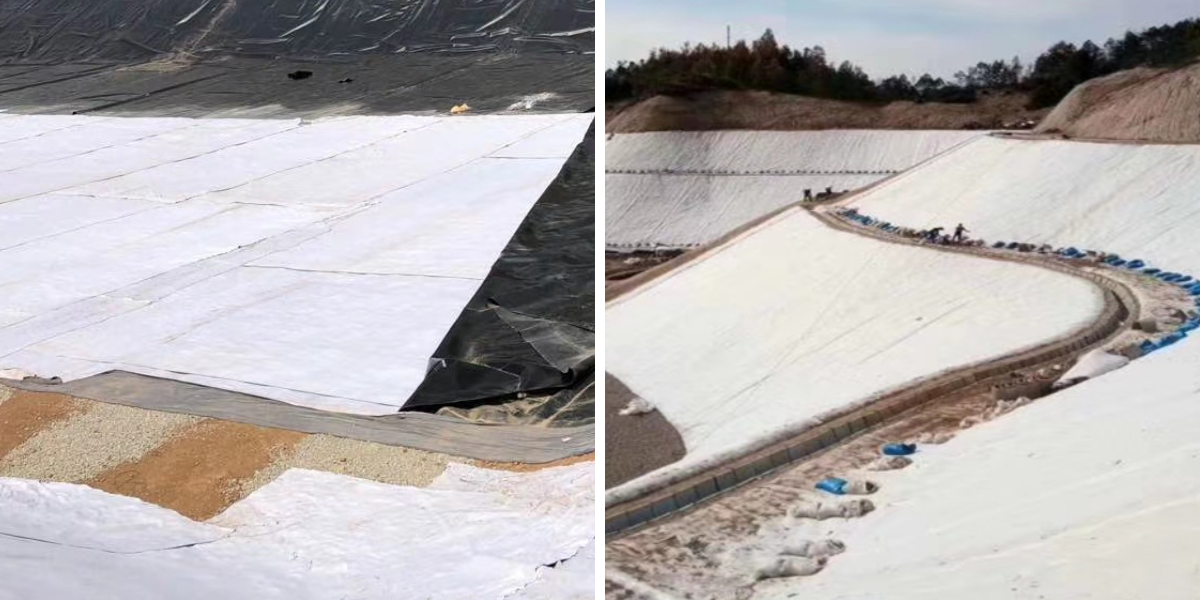
Start unrolling from the crest trench downward toward slope toe. Run the main length of Geotextile Cloth vertically down the gradient, rather than across horizontal contour lines. This orientation lets surface water flow naturally over material surface without sneaking beneath seams.
Keep Fabric Geotextile lying loosely against slope ground. Do not stretch it overly tight. Minor slack accommodates slight soil movement and prevents ripping when the slope shifts slightly. Remove visible wrinkles and large folds as you unroll. For multi‑roll coverage across wide slopes, arrange adjacent sheets in shingle‑style layout: upper‑slope sheet overlaps over the edge of lower‑slope Non Woven Geotextile. This shingle overlap stops rainwater from penetrating under seam gaps, one of the most critical details in slope geotextile work.
4. Handle Seam Overlap and Fix with Fasteners
Every connecting seam between sheets of Geotextile Cloth requires sufficient overlapping width. Maintain consistent overlap both along vertical down‑slope seams and cross‑slope side seams. Keep overlaps clean, free of trapped soil clumps between two material layers. Trapped debris creates gaps that break filtration performance of Fabric Geotextile.
Drive heavy‑duty staples or U‑shaped landscape stakes through overlapping seams and main sheet bodies to hold material against slope soil. Place fasteners along every seam line, and add intermediate fixing points across the middle area of each geotextile sheet. Use denser fastener distribution on steeper slope sections, where gravity exerts bigger downward pull on Non Woven Geotextile. All fasteners must sit flush with fabric surface; tilted or partially exposed staples may abrade and cut geotextile over time. Avoid creating new small holes caused by careless hammering.
5. On‑Site Inspection after Full Geotextile Deployment
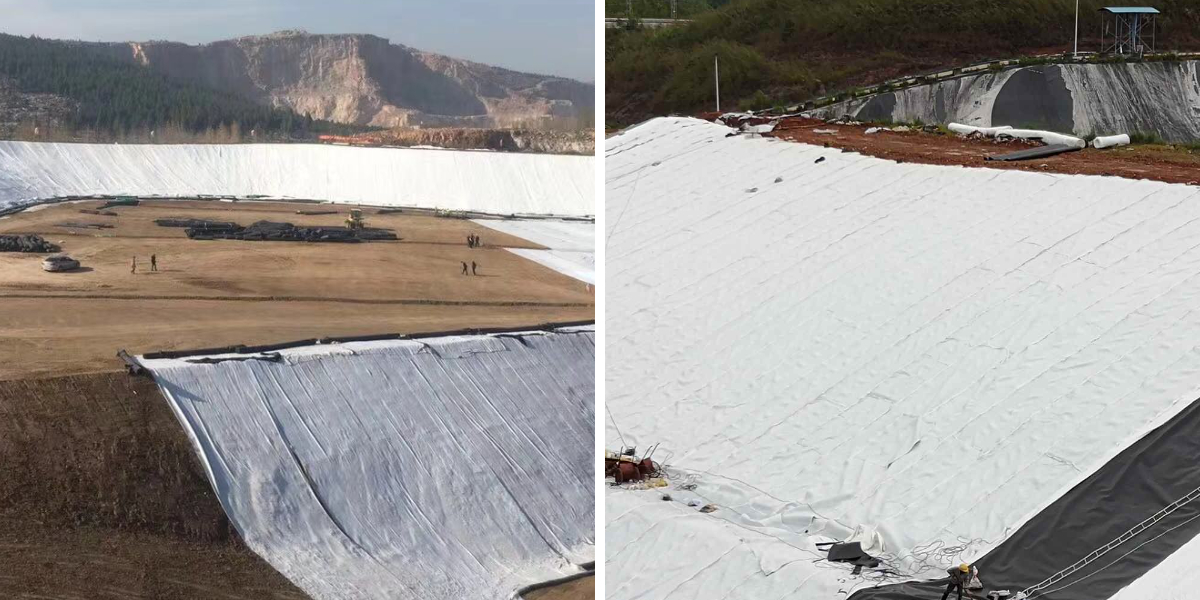
Once all Geotextile Cloth sections are spread and fastened, carry out comprehensive visual check across the whole slope area. Verify that every anchor trench has properly buried geotextile edges. Confirm all shingle‑direction overlaps follow upper‑over‑lower rule for Fabric Geotextile. Look for unnoticed punctures, cuts or loose lifting edges across Non Woven Geotextile surface.
Patch any found damage immediately with extra geotextile pieces. The repair patch must cover well beyond the damaged spot and get secured with surrounding fasteners. Do not leave small holes untreated, because running water will enlarge these weak points gradually. Make sure no sections hang suspended above slope ground; fabric must maintain close contact with base soil. Correct lifted corners or billowing areas before moving to next construction step.
6. Apply Protective Cover Layer over Geotextile
Bare exposed Geotextile Cloth cannot stay open to ultraviolet radiation long‑term. Lay protective covering material right after inspection finishes. You may choose gravel, rip‑rap stone, topsoil or mulch cover according to project design demands.
When placing stones or aggregates above Fabric Geotextile, avoid dropping heavy material from high height, as falling rocks punch holes into Non Woven Geotextile. Place cover material gently and evenly distribute weight across slope face. The cover layer shields geotextile from sun degradation, meanwhile adds ballast weight helping press sheets firmly against slope soil. For ecological slope projects, planting medium can sit on top, allowing plant roots to grow through porous geotextile structure and further stabilise slope ground.
7. Post‑Installation Maintenance Notes
Even with correct installation, periodic site check keeps Geotextile Cloth working through project service life. After heavy rain events, revisit slope locations to observe conditions. Watch for signs including slipping cover material, exposed fabric sections, washed‑out seams or visible tearing of Fabric Geotextile.
Clear sediment build‑up that piles along upper seams, because thick deposited sediment may block the permeable function of Non Woven Geotextile. Repair uncovered spots without delay. If protective cover gets washed away in local zones, replenish covering material quickly to prevent UV damage. Avoid driving heavy construction machinery directly upon geotextile‑covered slope surface during later‑stage work.
Conclusion
Installing Geotextile Cloth for slope protection is more than simply spreading material over hillsides. Surface cleaning, trench anchoring, correct unrolling direction, shingle‑style seams, reliable fastening and timely protective covering together decide final performance of Fabric Geotextile. Non Woven Geotextile offers excellent filtration capacity for most slope erosion‑control projects when handled following these step‑by‑step rules. Proper installation reduces long‑term slope repair cost and extends geotextile working life for civil, landscape and water‑related engineering projects.