How to Maintain Geomat for Long-Term Performance: Tips for Contractors and DIY Enthusiasts
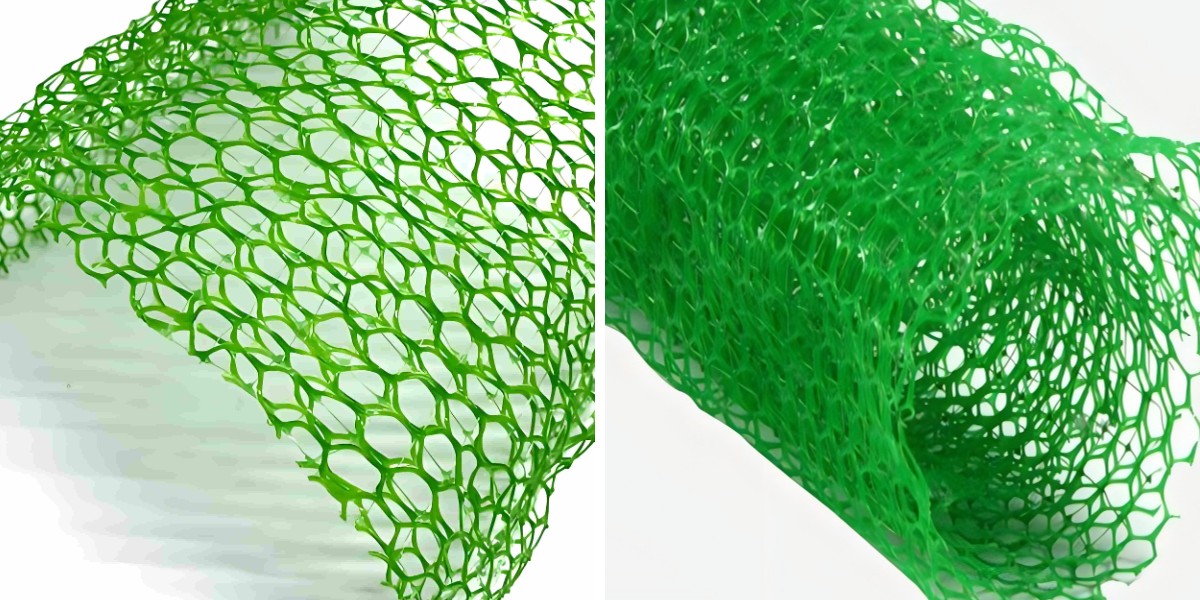
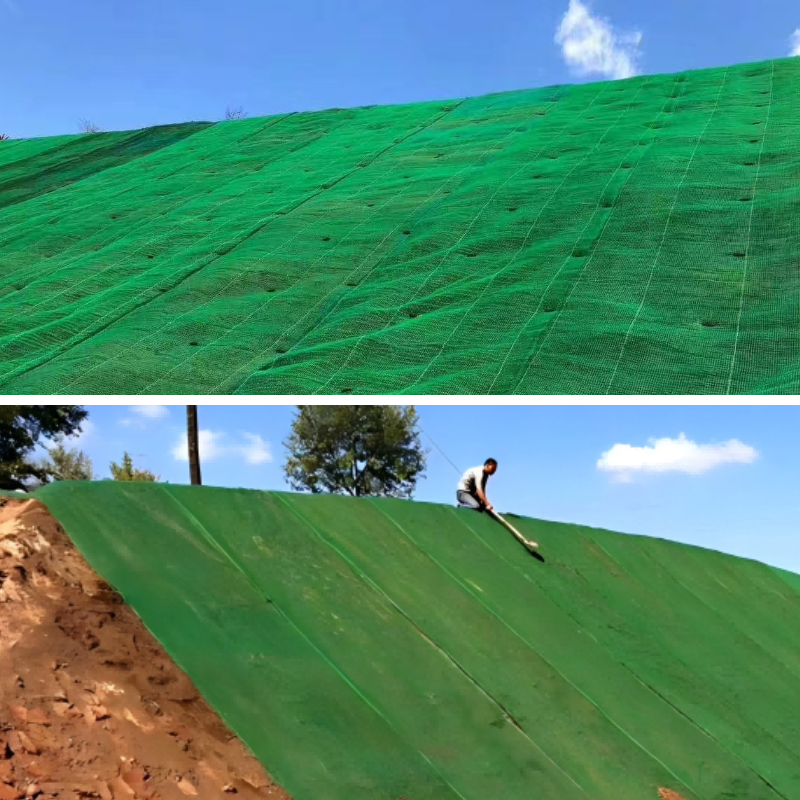
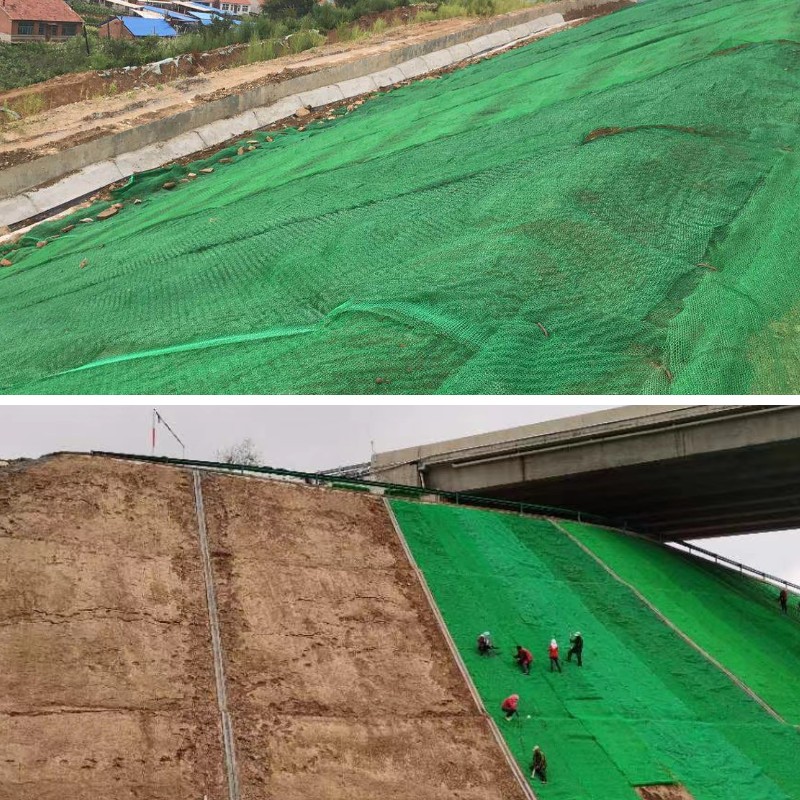
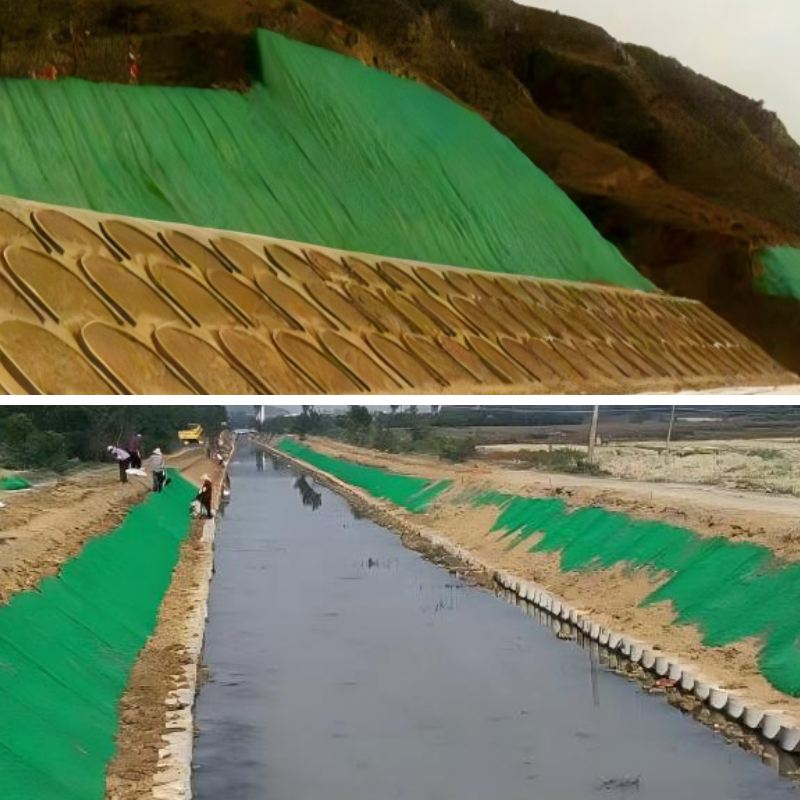
Geomat—including specialised variations like 3D geomat and Lay 3D vegetation net—is a cornerstone for erosion control, slope stabilization, and vegetation boom in construction, landscaping, and environmental projects. While constructed for durability, its long-term effectiveness hinges absolutely on suitable maintenance. Skipping protection can lead to tears, vegetation loss, or weakened erosion resistance, derailing undertaking goals. Below is a complete information to maintaining geomat for contractors and DIY enthusiasts, masking inspection, vegetation care, harm repair, and seasonal changes to maintain your set up functioning optimally.
1. Conduct Regular Inspections: Catch Issues Before They Escalate
Consistent inspections are the spine of geomat maintenance, as they let you tackle small problems—like free edges or minor tears—before they turn out to be high-priced failures. For each preferred geomat and 3D geomat, the frequency of assessments relies upon on how lengthy the set up has been in place. New installations (first 6 months) want inspections each 2–3 weeks: Lay 3D vegetation net and 3D geomat require time to anchor to soil and assist vegetation, so regular exams forestall moving or degradation throughout this necessary phase. Established installations (6+ months) can be inspected month-to-month all through harsh climate seasons (spring storms, storm season) and quarterly when stipulations are mild—extreme climate is the pinnacle motive of geomat damage, so post-storm assessments are non-negotiable.
During inspections, center of attention on key areas: aspect safety (ensure geomat edges continue to be anchored by using stakes, soil burial, or adhesive—loose edges let water seep under and raise the material, a frequent problem with 3D geomat on steep slopes), tears and punctures (look for rips in high-traffic zones or the place particles like fallen branches can also have hit the fabric; Lay 3D vegetation net’s 3D shape can trap debris, so clear caught objects to keep away from tearing), vegetation fitness (for vegetated geomat, take a look at for even growth—sparse flowers go away the geomat exposed to UV rays and erosion), and soil accumulation (remove extra soil from the geomat surface with a small rake to stop weighing it down or blockading drainage, and make certain no voids structure from under-soil erosion).
2. Care for Vegetation: Reinforce Geomat Performance
Most geomat systems—especially 3D geomat and Lay 3D vegetation net—depend on healthful vegetation to improve erosion manage and slope stabilization. Plants bind soil to the geomat, decrease water runoff, and protect the material from UV damage, so applicable vegetation care is non-negotiable. Start with watering: new installations want day by day watering for the first two weeks (or till seeds germinate) the usage of a low-pressure sprinkler—high strain can wash away seeds or dislodge 3D geomat’s structure. Established vegetation prospers with deep weekly watering (1–2 inches of water) as a substitute of conventional mild sprays; this encourages root boom into the soil underneath the geomat, strengthening stability. Avoid over-watering, though—soggy soil rots roots and loosens anchor points.
Fertilize strategically: use a slow-release natural fertilizer 4–6 weeks after vegetation establishment, warding off high-nitrogen blends (they promote weak, speedy growth). For 3D geomat with native plants, pick a fertilizer tailor-made to nearby species (e.g., low-phosphorus choices for drought-tolerant plants). If soil is nutrient-poor (common in development sites), top-dress the geomat with ½ inch of compost yearly—compost improves soil shape and feeds advisable microbes. Weed manage is additionally key: pull weeds by means of hand or with a small hoe (herbicides harm favored flowers and can also degrade geomat fabric). For Lay 3D vegetation net, weeds develop in the net’s 3D pockets, so pull gently to keep away from tearing. For giant areas, add a skinny mulch layer (straw or wooden chips) post-planting—mulch suppresses weeds, retains moisture, and feeds soil as it breaks down, simply don’t let it smother new growth.
3. Repair Damage Promptly: Stop Small Issues From Spreading
Even with ordinary inspections, geomat (including 3D geomat) can get broken through weather, debris, or human activity. Quick repairs stop issues from worsening—here’s how to restore frequent issues. For unfastened edges: re-bury the geomat’s side 6–8 inches into a small trench, pack soil firmly, and add greater stakes (galvanized metal or biodegradable plastic) each and every 1–2 ft for steep slopes or Lay 3D vegetation net. If edges are frayed, trim the broken phase with sharp scissors first—frayed edges tear easily, particularly in woven 3D geomat.
For small tears (under 6 inches wide): reduce a patch from extra geomat (matching the type, e.g., 3D patch for 3D installations) that’s 2–3 inches large than the tear on all sides. Clean the location (remove dirt/debris), then connect the patch with geotextile adhesive (compatible with your geomat material) or UV-resistant thread (for woven fabrics). For Lay 3D vegetation net, push the patch into the net’s pockets to bond with the current structure. For massive holes (over 6 inches): eliminate the broken section, change it with new geomat, and overlap the new piece with current fabric by means of 4–6 inches—anchor with stakes and soil for a seamless seal.
UV injury (brittleness, fading, skinny spots) is frequent in sunny areas: follow a UV protectant spray (formulated for geotextiles) annually, mainly for 3D geomat with plastic mesh (prone to UV breakdown). If geomat is severely degraded (crumbling fabric), change the area entirely—UV-damaged fabric can’t face up to erosion, even with vegetation.
4. Adjust for Seasons: Tailor Maintenance to Weather
Seasonal modifications impact geomat performance—summer heat, iciness frost, and spring rains every deliver special challenges. Adjust your pursuits to defend your set up year-round. In summer season (hot, dry weather): water vegetation 2–3 instances weekly to forestall drought stress (dry flowers can’t shield geomat from UV rays), the use of a soaker hose to goal roots and minimize waste. Inspect for warmth damage: 3D geomat’s plastic elements might also soften in intense heat, so keep away from heavy gear on it—add transient stakes if it sags till temperatures cool.
Winter (cold, freezing weather): clear particles (leaves, branches) from geomat before frost—debris traps moisture, which freezes and cracks the fabric. For Lay 3D vegetation net, use a low-setting leaf blower to put off particles from internet pockets. Avoid strolling on frozen geomat—it will become brittle and tears easily; wait for soil thaw and cloth flexibility earlier than repairs.
Spring (wet, windy weather): after heavy rains, test for under-soil erosion—fill voids (sunken areas) with skinny topsoil, then water gently to settle. 3D geomat’s shape must trap eroded soil, however refill if washed away. Secure free sections post-winds: take a look at stakes/anchors, re-stake shifted areas, and restore lifted edges—wind creates gaps that irritate erosion, mainly for Lay 3D vegetation net on uncovered slopes.
Final Tips for Long-Term Geomat Success
Choose the right geomat for your assignment (e.g., 3D geomat for steep slopes, Lay 3D vegetation net for vegetation-heavy sites) to decrease protection wants from the start. Document all upkeep: log inspections, repairs, and watering/fertilization schedules to tune lifespan and pick out habitual problems (e.g., well-known side lifting in one area). For contractors, educate groups to handle geomat carefully (avoid sharp tools, no heavy equipment) and comply with protocols; DIY fans must study producer directions completely earlier than maintaining.
By following these steps, contractors and DIY lovers can lengthen their geomat’s lifespan, keep its erosion manage and stabilization abilities, and maximize their investment. Whether you’re working with popular geomat, 3D geomat, or Lay 3D vegetation net, proactive protection is the key to long-term success.
Contact Us
Company Name: Shandong Chuangwei New Materials Co., LTD
Contact Person :Jaden Sylvan
Contact Number :+86 19305485668
WhatsApp:+86 19305485668
Enterprise Email: cggeosynthetics@gmail.com
Enterprise Address: Entrepreneurship Park, Dayue District, Tai 'an City,
Shandong Province


