A Step-by-Step Guide: How to Install 3D Vegetation Net for Erosion Control
Erosion is a persistent threat to landscapes, but 3D vegetation netting provides a reliable defense. To harness its full potential, knowing how to install 3D vegetation net for erosion control efficaciously is crucial. This guide explores key aspects of the installation process, from identifying the right materials to avoiding regularly occurring pitfalls, ensuring your project effectively controls erosion through installing 3D vegetation net for erosion control.

1. Choosing the Right Materials for How to Install 3D Vegetation Net for Erosion Control
Selecting splendid materials lays the foundation for a successful installation. The proper netting and accessories directly impact how nicely the 3D vegetation net performs in erosion control— a core goal when learning how to install 3D vegetation net for erosion control.
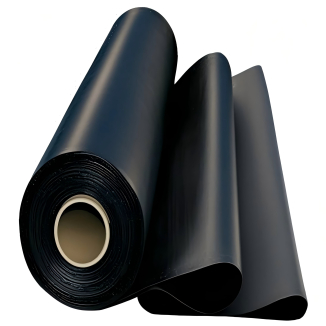
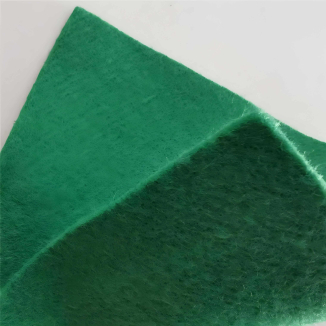
Types of 3D Vegetation Netting
Biodegradable netting: Ideal for short-term projects (6–12 months) where natural decomposition is desired, such as temporary slope stabilization during construction. It works properly when you need to install 3D vegetation net for erosion control and let it combine into the environment over time.
UV-stabilized synthetic netting: Perfect for long-term use (5+ years) in exposed areas. Its resistance to solar damage makes it a top choice for permanent erosion control, ensuring your effort to install 3D vegetation net for erosion control lasts.
Combination netting: Some options have integrated coconut coir or straw layers, enhancing water retention and seed germination. This is a great choose if you want to streamline the process when learning how to install 3D vegetation net for erosion control.
Selecting Anchoring Materials
The stakes used to anchor the netting need to match the terrain and project duration. For steep slopes or areas with heavy rainfall, galvanized metallic stakes (8–12 inches) grant superior holding power. In eco-sensitive zones, biodegradable tree stakes are a sustainable option. When you install 3D vegetation net for erosion control, the right anchors prevent shifting, which is imperative for erosion control.

2. Common Mistakes When Learning How to Install 3D Vegetation Net for Erosion Control and How to Fix Them
Even with cautious planning, errors can occur during installation. Being conscious of these mistakes and their solutions ensures your 3D vegetation net functions as intended— a key outcome of mastering how to install 3D vegetation net for erosion control.
Insufficient Overlapping
A frequent error is overlapping netting sections by less than 4 inches. This creates gaps where water can seep through, undermining erosion control. When you install 3D vegetation net for erosion control, continually overlap adjacent rolls by 6–8 inches, especially on slopes. Secure the overlaps with more stakes to lock them in place.
Poor Soil Preparation
Failing to prepare the soil properly is another misstep. Rocks, roots, and uneven surfaces forestall the netting from lying flat, reducing its effectiveness. Before you install 3D vegetation net for erosion control, absolutely rake the area to remove debris and stage the soil. For compacted soil, aerate it to improve water infiltration and root growth.
Incorrect Stake Spacing
Placing stakes too far apart (more than 18 inches) leads to free netting, which can be lifted by wind or water. When learning how to install 3D vegetation net for erosion control, house stakes 12–15 inches along edges and 24 inches in the middle of large areas. On slopes, add more stakes at 10-inch intervals to counteract downward pressure.

3. Seasonal Considerations for How to Install 3D Vegetation Net for Erosion Control
The time of year affects installation methods and the netting’s performance. Adapting your approach to seasonal conditions ensures optimal results— a critical detail in mastering how to install 3D vegetation net for erosion control.
Installing in Spring
Spring’s moderate temperatures and rainfall are ideal for vegetation growth, making it a popular time to install 3D vegetation net for erosion control. Take advantage of the moist soil by lightly tilling the surface until now than laying the netting, which helps seeds germinate faster. However, be cautious of sudden rainstorms—secure the netting tightly to prevent washing away before vegetation establish.
Summer Installation
High temperatures and potential drought require extra care when you install 3D vegetation net for erosion control. Water the soil totally the day before installation to keep it damp, as dry soil can purpose the netting to brittle. Consider using netting with higher UV resistance to withstand excessive sunlight, and water the area regularly after installation to assist seed growth.
Fall and Winter Installation
In fall, installing 3D vegetation net for erosion control helps protect soil from wintry weather runoff. Clear fallen leaves and debris first, as they can block contact between the netting and soil. For winter projects in cold climates, use synthetic netting that resists freezing and thawing cycles. When you install 3D vegetation net for erosion control in winter, make certain stakes are driven deep enough to penetrate frozen ground, using a hammer with a rubber mallet to keep away from damaging the netting.

4. Final Steps to Ensure Success After You Install 3D Vegetation Net for Erosion Control
Once the netting is in place, observe these steps to maximize its erosion control capabilities— the final phase of successful installation of 3D vegetation net for erosion control.
Monitoring Growth
After installation, many times check for seed germination and vegetation growth. The 3D vegetation net should support, now not hinder, plant development. If plants struggle to grow thru the netting, gently lift sections to create small openings—this is part of maintaining the system you worked hard to install 3D vegetation net for erosion control.
Addressing Drainage Issues
Poor drainage can saturate the soil, weakening the netting’s hold. If water pools, create small channels alongside the netting to redirect flow. This proactive measure preserves the integrity of the installation, ensuring your effort to install 3D vegetation net for erosion control remains effective.
Documenting Progress
Take photos of the region before and after installation to track erosion control success. This helps you identify areas that may need remodel and provides valuable insights for future projects where you need to install 3D vegetation net for erosion control.

By focusing on cloth selection, fending off common mistakes, and adapting to seasonal conditions, you can master how to install 3D vegetation net for erosion control for long-lasting erosion control. With these guidelines, your landscape will remain stable and resilient toward the elements.
Contact Us
Company Name: Shandong Chuangwei New Materials Co., LTD
Contact Person :Jaden Sylvan
Contact Number :+86 19305485668
WhatsApp:+86 19305485668
Enterprise Email: cggeosynthetics@gmail.com
Enterprise Address: Entrepreneurship Park, Dayue District, Tai 'an City,
Shandong Province